DIY Foam Cutout Props: The Budget-Friendly Decor Hack That Looks High-End
- Kayla Rothlisberger
- Jul 8, 2025
- 2 min read

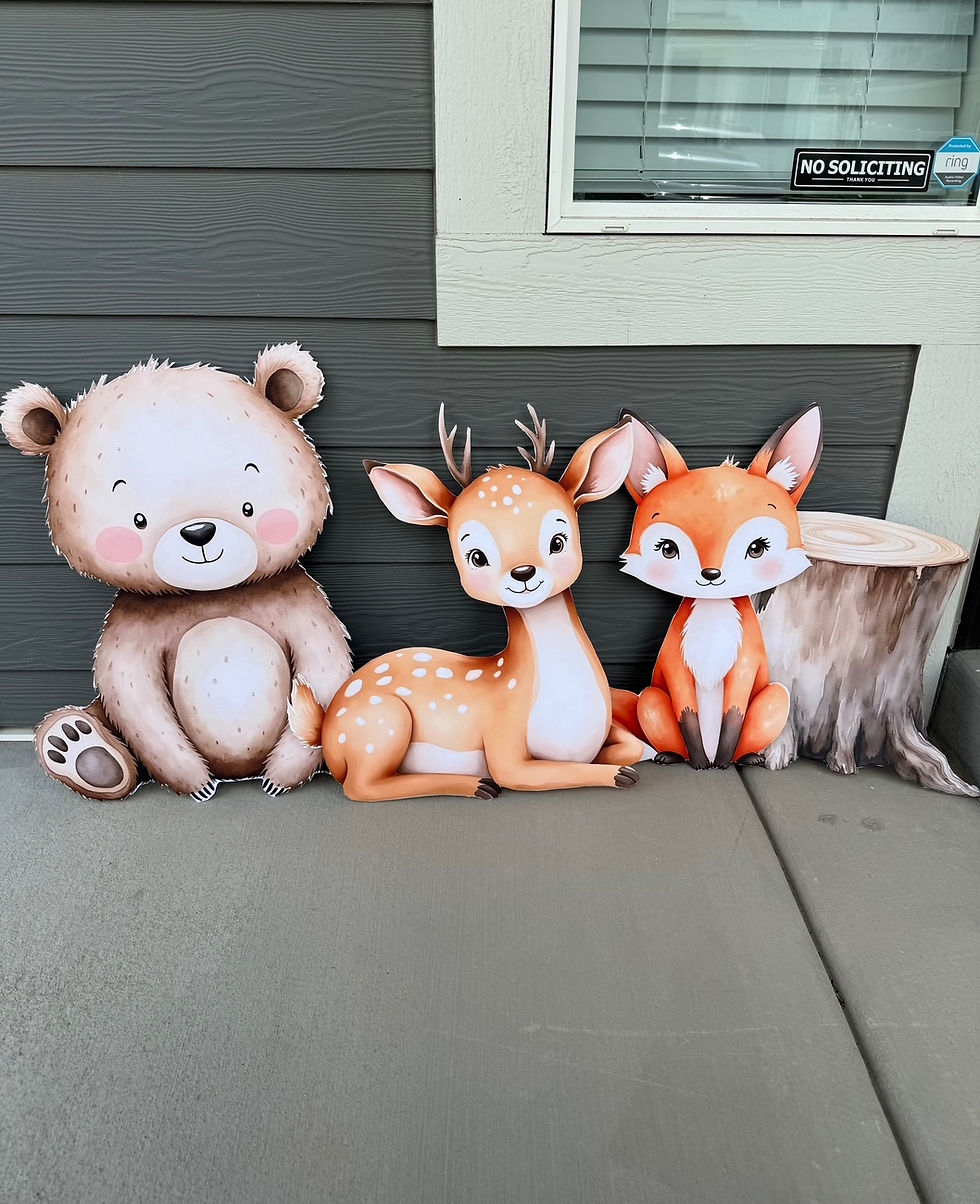
At Sunshine Party Events, we’re all about party decor that wows-without blowing your entire budget. One of our favorite statement pieces? Foam cutout props! They’re bold, lightweight, and completely customizable. Whether you’re styling a birthday, baby shower, or themed event, these props add serious photo-op magic.
And the best part? You can DIY them with just a few supplies.
Here’s a step-by-step look at how I made a full set of custom foam props for one of our recent setups: What You’ll Need:
A 2x6 printed banner (I made mine in Canva and printed at Walgreens)
A sheet of foam insulation board (Home Depot has 4x8 ft sheets for around $10 in the insulation aisle)
Heavy-duty spray glue (make sure it works with foam, the 3M Super Strength glue has worked great for me!)
Cardboard or drop cloth (to protect your surface)
A foam cutting tool (game changer for clean edges!) Click Here for my favorite one! (This is an affiliate link, which means I may earn a small commission-thank you for supporting my small business!)
Scissors or box cutter (for trimming your printed images)
Step-by-Step Tutorial:
1. Design & Print: Create your prop graphics in Canva and print them as a banner. I used a 2x6 vertical banner from Walgreens-it’s big enough for bold props, but still easy to cut down.
2. Cut Out Your Images: Once printed, cut out each individual design from the banner. Leave a small white border if you want it to pop.
3. Prep Your Foam Board: Grab a sheet of foam insulation board from the hardware store. It’s lightweight but sturdy, and way cheaper than wood or acrylic.
4. Glue It Down: Use a strong spray adhesive to attach each cutout to the foam board. Be sure to place cardboard underneath to protect your surface-this glue is sticky!
5. Cut the Foam: Use a foam cutting tool (I found mine online) to trim around the shapes. It melts through the foam smoothly and leaves clean edges-plus, it’s kind of addicting.
6. That’s It! You’re left with a set of lightweight, eye-catching props ready to style with your backdrop, balloon arch, or party table!
Check out the full video tutorial in my Instagram Reel here!


Comments